I got an e-mail from my sister who currently is stationed in Germany. She and her husband are thinking about buying a MINI and had some questions. Her e-mail is below, followed by my response.
... We will need a second car and he wants to get a MINI. We may buy used (2004 or 2005) if we can find a good one. However, I also want to research new and compare total costs. They have a military sales program here to sell new ones and pay your shipping back to the states. BUT, I want to compare and see if they're really a good deal when compared with buying in the U.S.
So, could you tell me which dealer you bought from in NoVA? I'll do some pricing at the MINI Web site and then get some quotes from your dealer and perhaps one in Tidewater. Also, if you don't mind sharing and you recall -- it would be great to know what you paid for yours -- basically, what was your base price and then for any options - (I assume you got the sports pkg, etc.)
Thanks!
Here's my response:
A MINI will be a pretty cool purchase.
There are some key differences between the US spec'd MINIs and the European versions. Namely, you can only get MINIs in the US in two different engine formats: Cooper (115 hp) or Cooper S (Supercharged 168 hp for 2005 model, 163 hp for 2004 model).
In Europe there are four different engine versions: MINI One (90 hp), MINI One D (88 hp), MINI Cooper (115 hp) and MINI Cooper S (Supercharged 168 hp for 2005 model, 163 hp for 2004 model). If you are going to bring the car to the states I'd recommend getting either a Cooper or a Cooper S. The MINI One and One D are severely underpowered, and it will be harder to get reasonable service at a MINI dealership/authorized mechanic.
I bought the Cooper S (which I imagine you both will want to buy after test driving it since it blows the doors off of the Cooper for just a few thousand more). The 2005 model is almost exactly the same as my 2006, minus a few under-the-bonnet improvements that will pretty much go unnoticed.
The manual 6-speed transmission on the S model is TONS of fun. So I highly recommend it. If you are looking for an automatic tranny, you'll have to get a 2005 or 2006 model since the automatic transmission wasn't introduced on the S model until '05.
I've test-driven a 2005 with the automatic transmission and it was fun to drive. It has an optional "sport" mode that allows you to shift gears from two paddles on the steering wheel, kind like a Formula 1 racer.
The numbers ...
MINIs in the US have an extremely high resale value. Basically, if I sold my '06 a year from now with 15,000 miles on it, I could expect to get just $1,000 less than I paid for it. The high resale value is a result of the car being in high demand. Also, since the car is so customizable, most people opt to not buy one off of the dealer lot and order one from the factory (like I did).
As a result of the demand being so high, there is no negotiating at the dealership on the price. I know this sounds crazy, but I haven't heard of anyone getting one for under MSRP (in fact, when they were first introduced in the US in 2002, dealers were adding a "market value" charge to the car ... sometimes in excess of 5,000 bucks!)
The price that you come up with after you configure a car on the MINI Web site is the price you should expect to pay for a new MINI at the dealership in the US. You may be able to get a slight discount if you buy from a dealership that is affiliated with a local MINI club, but usually discounts only apply to accessories.
I bought my car from MINI of Sterling. The other two dealerships that are somewhat near me are MINI of Townsend, MD and MINI of Richmond, VA. They all have the same prices as a result of the car being in high demand.
Since the MINI is in high-demand, there is absolutely no pressure from the salesperson. If you have some questions or just want to shoot the breeze about MINIs I highly recommend speaking to my Motoring Advisor, Jeff Wannall (jeff@miniofsterling.com). He's laid back and is very prompt in checking his e-mail (except on Fridays and Sundays since those are his days off).
I read on a MINI enthusiast blog that the 2007 model versions will be built in September. The 2007 versions of the car will look almost unchanged from the outside, but will look drastically different in the inside (I actually think they look pretty lame, so I am glad I got an '06!). If you opt to buy new, I suggest getting your order in very soon.
Where did I find out this information? How do I know what the 2007 version will look like? Read on ...
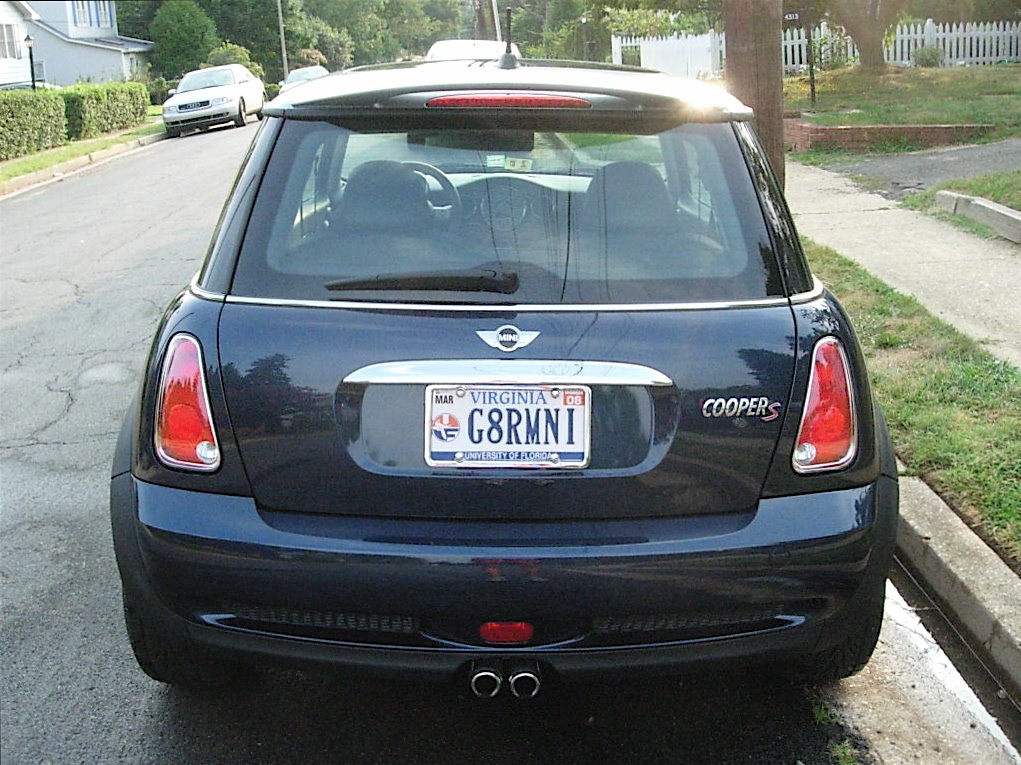
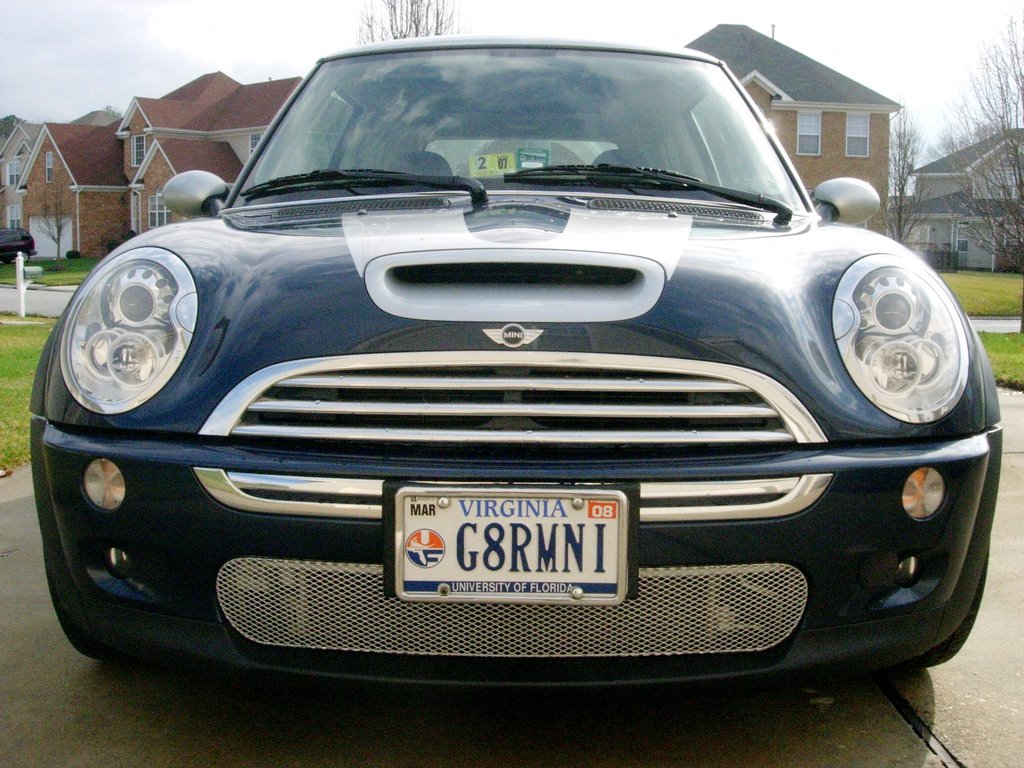
http://www.northamericanmotoring.com I have been a member of this U.S. message board community for over a year. It is awesome! There is tons of advice on buying used vs. new, things to look out for, tips and tricks. I highly recommend becoming a member (free) and lurking around. My screen name is G8RMNI (of course!)
http://www.mini2.com I am also a member of this European message board community (same screen name as above). This community is directed towards owners on your side of the pond, so it is a good resource for people who own a Euro spec'd car.
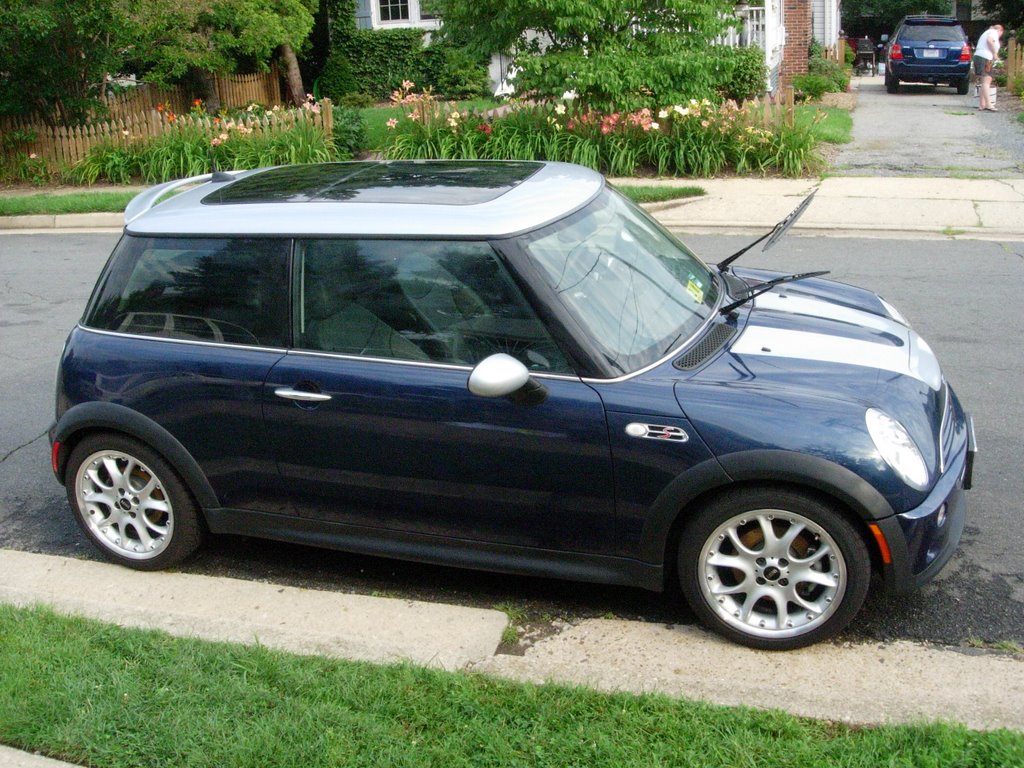
About my car:
2006 MINI Cooper S
Space Blue with Pure Silver Roof, Mirrors and Bonnet U-Stripe
Premium Package
Automatic Air Conditioning
Dual Pane Panoramic Sunroof
On-Board Computer
3-Spoke Steering Wheel w/Cruise & Multifunction
Sport Package
Dynamic Stability Control
Front Fog Lamps
Xenon Headlamps w/Power Wash
17" Web-spoke Alloy Wheels
Run-Flat Performance Tires
Cold Weather Package
Heated Front Seats
Heated Side Mirrors & Washer Jets
Factory Installed Extras
"Seven" Piano Black Interior Trim
Chrome Interior
Rear Fog Light
Armrest
I paid $27,300 plus tax, tags, etc.
OK, that's my thesis on MINIs.

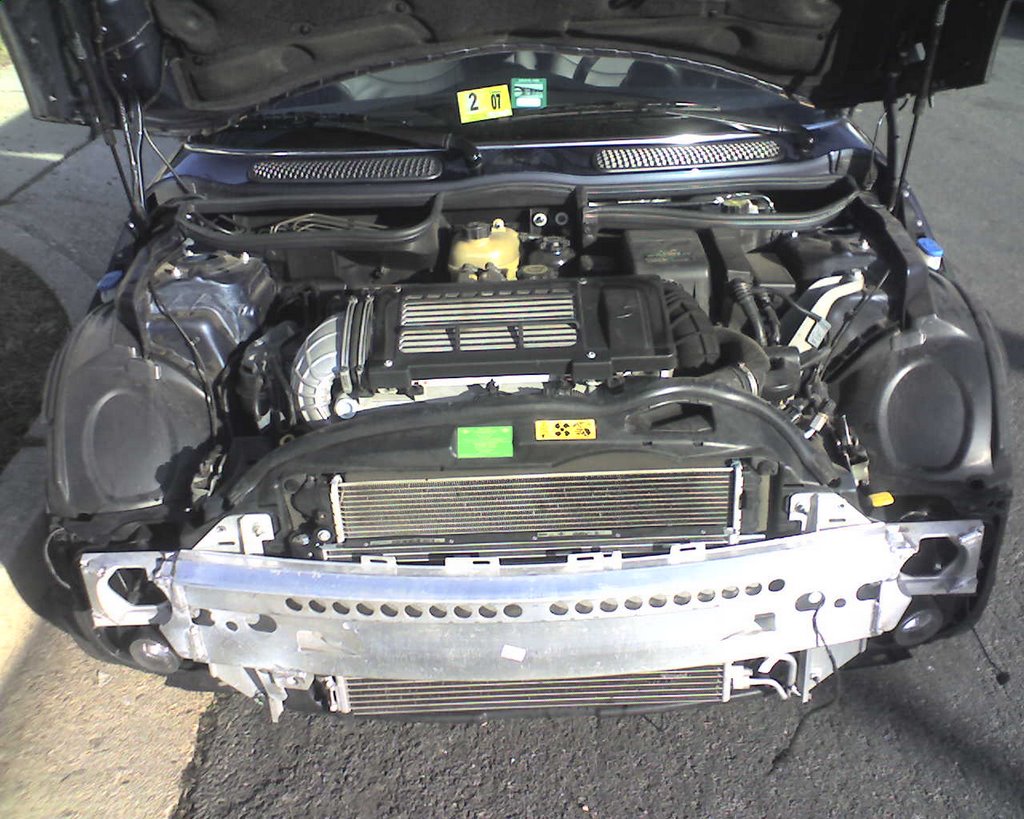
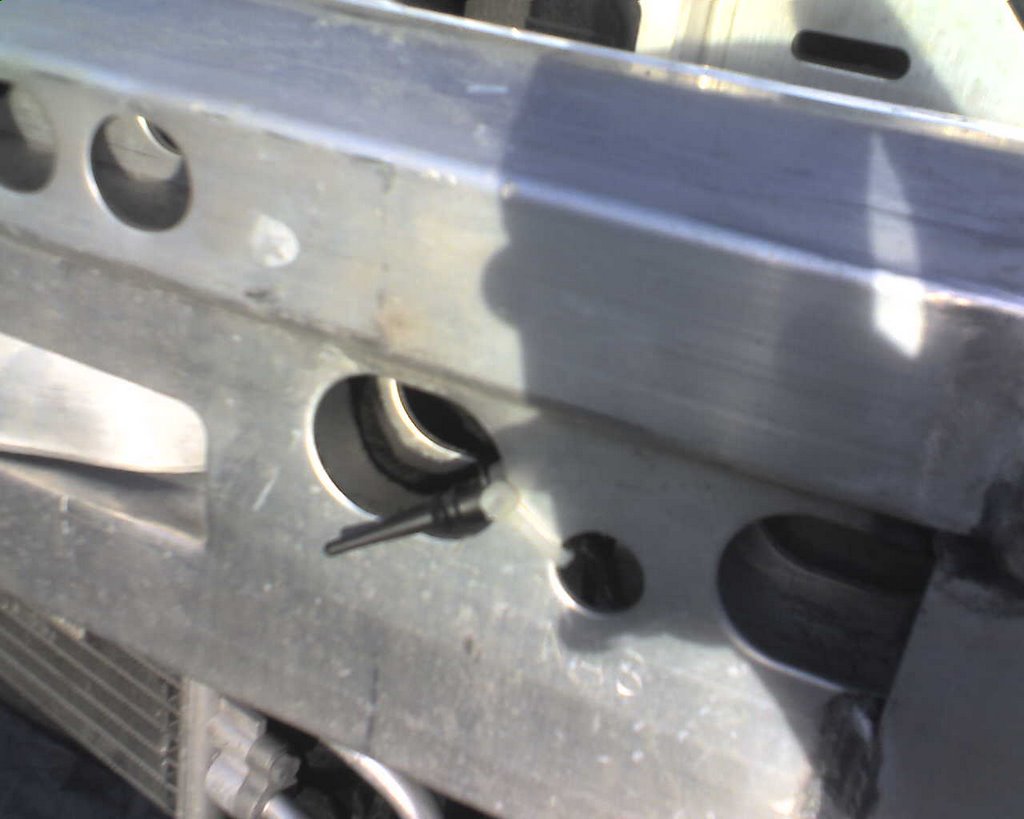
 Originally purchased in August, the grill sat boxed up in my shed for several months since I was too busy playing soccer and sleeping on the weekends. I know -- poor excuses for not attending to my beloved MINI ...
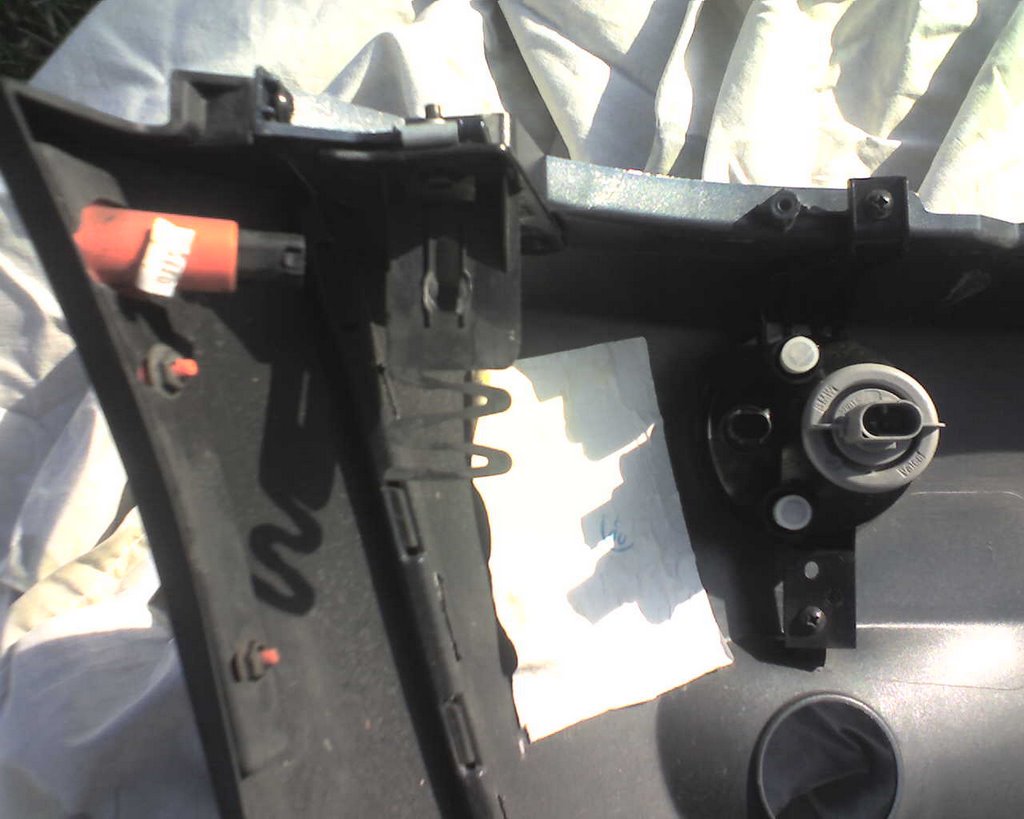 Above Photo: Inside of the bumper skin once it is removed. The orange connector goes to the side indicator light. The grey connector goes to the headlght.